9 September 2012

A good day!

Today is actually a good day for me! First of all, I finally made myself to write down one pattern that I created somewhere in the end of May, but forgot to write down. This is a little fan motif (#24):
The problem with this motif is that I couldn't find its' pattern, though I always write them down in my notebook before creating a PDF! So, I had to kind a create it again from tatted motif. I hope that it's ok, but if not, please let me know!
Secondly, I have an anniversary: a year of tatting! I started last September. I don't remember the exact date, but it doesn't matter. What does matter is that beautiful feeling of being connected to ancient magic!.. Tatting changed my mind. I always did much handmade, but rarely from my own patterns. Tatting gave me enough courage to express my own ideas in needlework, and this is priceless! I created 13 patterns during this year, and all of them are available on my Free Patterns page. Not so bad for beginner, I think! Also tatting let me get to know all of you, my dear readers, who give me so much favor and inspiration! I hope you will be with me!
Several month ago I saw a beautiful pattern, but I couldn't tat it because I didn't know some basic elements. Time passed, and now, for my anniversary, I tatted him: Flying Minor Norwegian Dragon by Anne Bruvold!
And one more thing - this dragon is motif #25! So, I've finished my 25 motifs challenge today! I want to start another one, of course! Let it start from today, a good day for me as tatter!

4 September 2012

New blog for knitting and crocheting!

I did it finally! I started a new blog for my knitting and crocheting! Thus I removed two posts from this blog and moved them there (with slight modifications). I will be glad to see you there!
Blog: http://mariyas-knitting-and-crocheting.blogspot.com/
Page on Ravelry.com (still empty but I'm working on it!): http://www.ravelry.com/people/MariyaDavydova
You are welcome!
And I'll be glad to follow your knitting and crocheting blogs if you give me the links!

27 May 2012

Two-coloured spirals

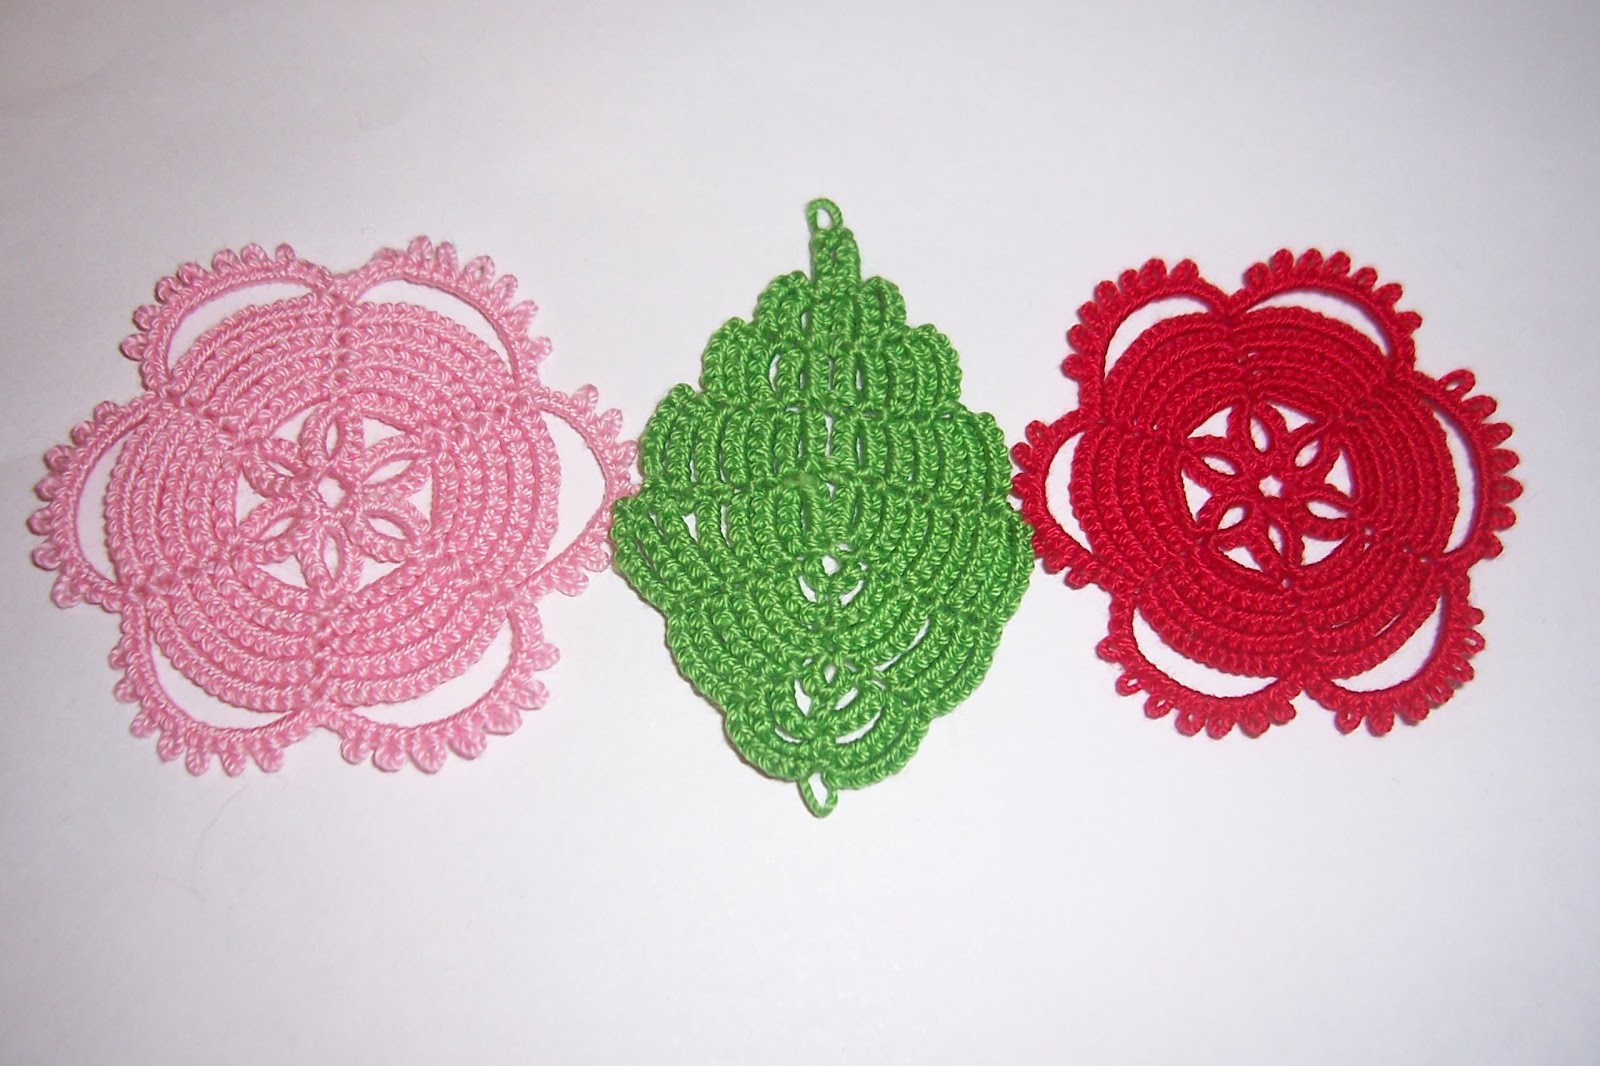
First of all, I'm very glad that so many of you liked my spirals! I didn't include their description in my previous post, because there isn't any strict description. I'm  afraid that everything I can do is to explain the idea.However I'll try.
Here are the photos of the front and back side:
The main idea is that you start from the end of one flower, tat a chain with some picots, then change shuttles and tat another chain that is connected to the first one and finish just before the next flower.
The first and the easiest way to tat this would be tatting the first chain with a number of normal picots and connect the second chain to them with Catherine Wheel Joins. However, this way has a serious drawback - the second chain will not be connected to the part of the first chain that is _above_ it, and spiral will loose the form when you try to move the tatting (e.g. using spirals in earrings).
That is why I decided to use downwards picots also. In fact I used some kind of joins that I can't find a name and description. They are something very similar to CWJ but the picot is _above_ the chain, not _below_ it. I hope that it's enough to understand what I mean, but if it is not, I will make a set of photos to show it.
So, some abbreviations:
p - picot
dp - downwards picot
CWJ - Catherine Wheel Join
DCWJ - Downwards Catherine Wheel Join (the join I described earlier).
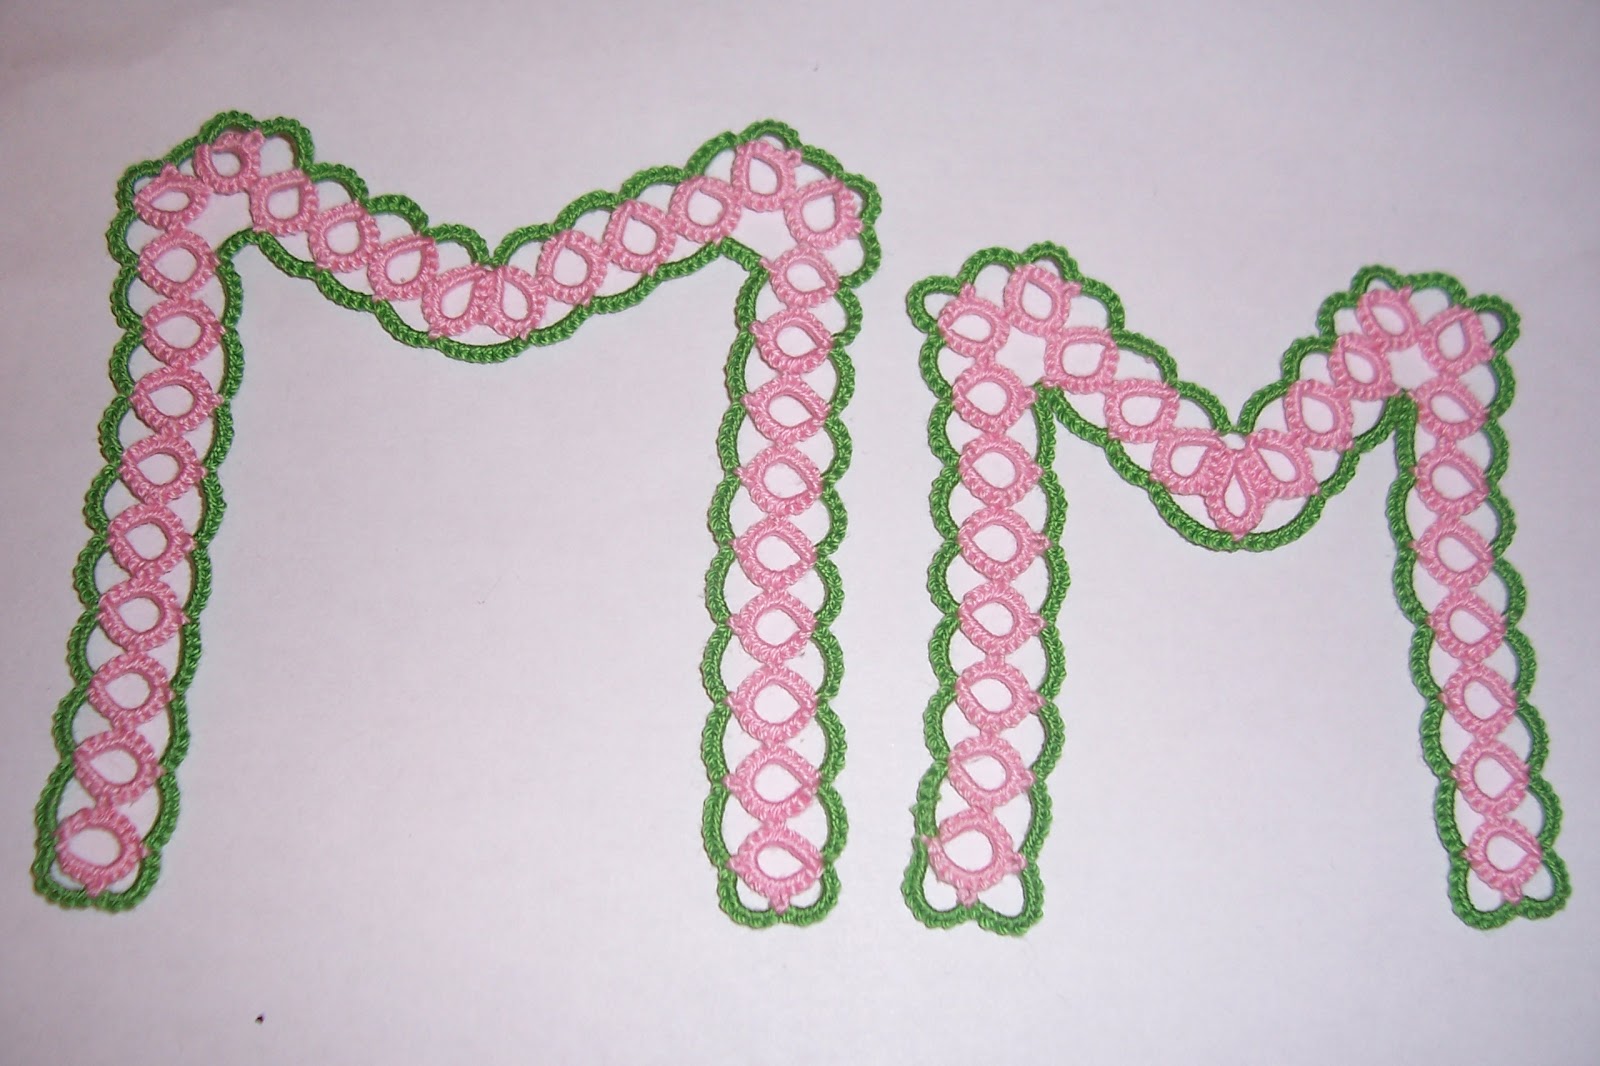
You start tatting from the back side (!). At the picture the first chain is green.
Ch   8 dp 8 dp 6 dp 4 dp(#2) 3 dp(#1) 2 p(#2) 1 p(#1) 1
Then you change shuttles and turn work, and tat the following:
Ch   1 DCWJ (dp #1) DCWJ (dp #2) 1 CWJ (p #1) 2 CWJ (p #2)
This is the necessary part - tatting the middle of spiral this way you make it stable enough. Continuing tatting this spiral you should do all these steps at the same time:
  • Tat (4 CWJ) till the end, where CWJ is connected to the space between stitches (we didn't do more picots on the first chain).
  • Tat (DCWJ) instead of ds when needed.
  • When you reach the point where the first chain started, make a simple join.
  • When you reach the point where the spiral should finish, make a lock join.
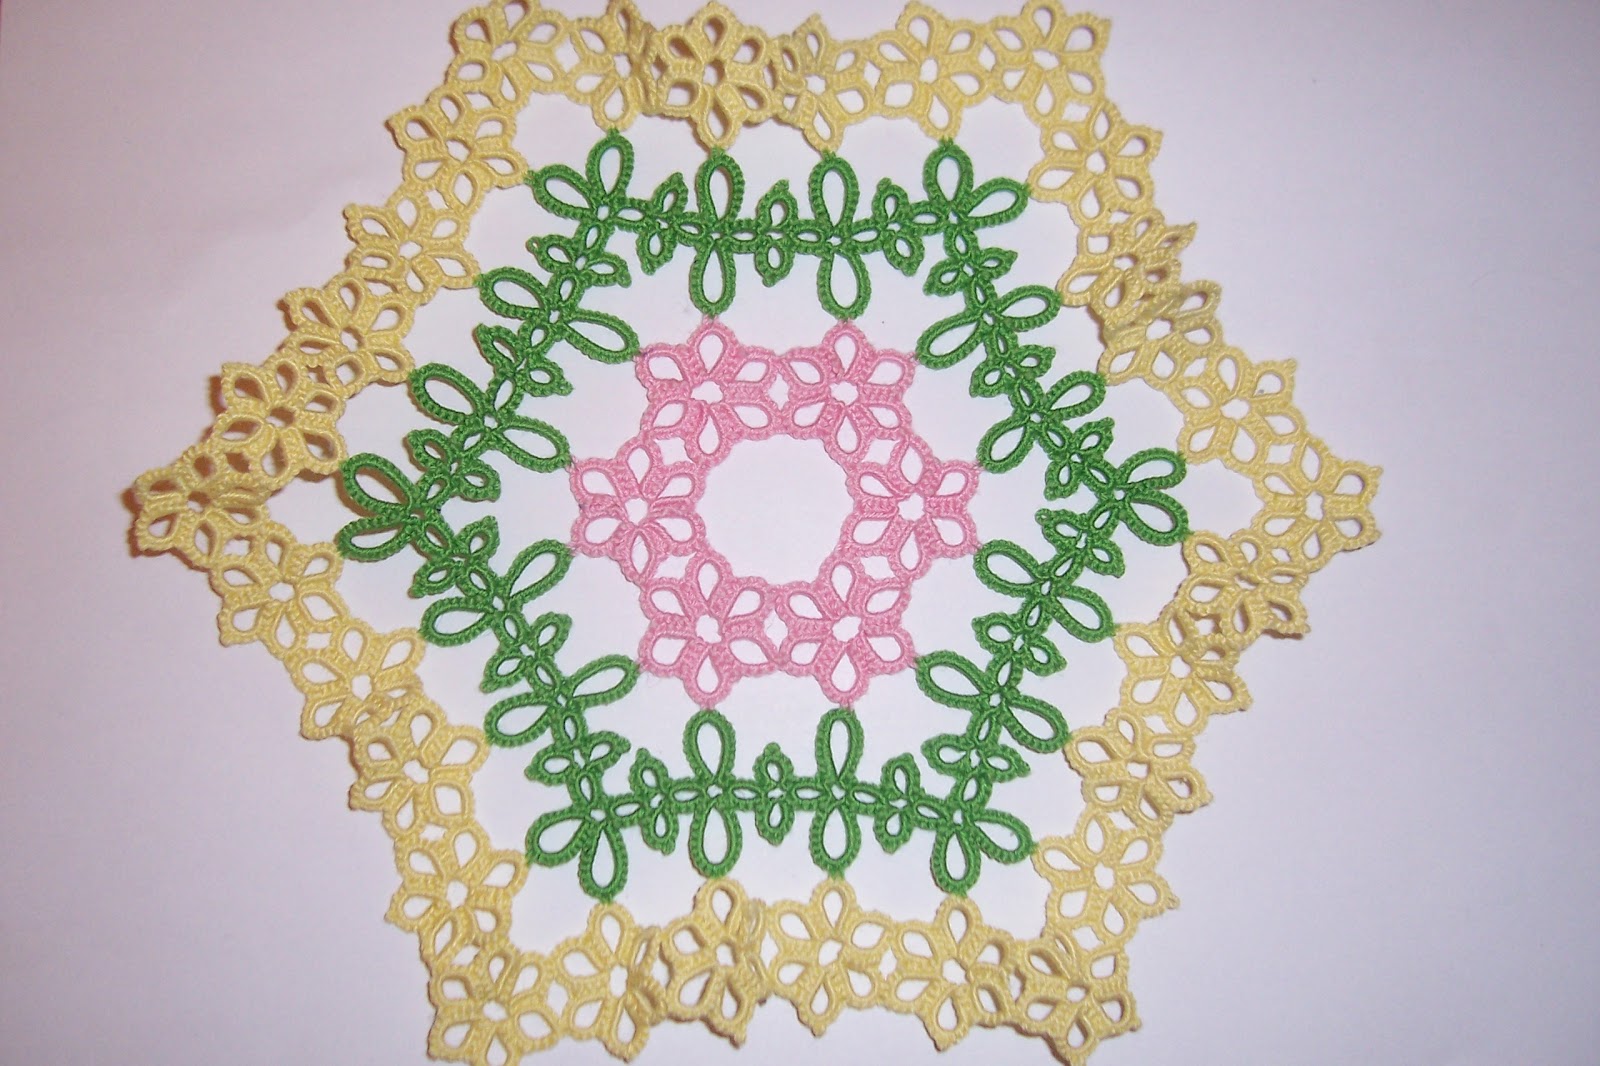
Thus you get something similar to the shown spirals. As you can see the problem is to find a point for connection and to have a proper tension along the whole spiral.
Well, I hope that my explanation was not very boring! The only thing I want to add is how to change the size of spiral - you can add as many groups (8 dp) at the beginning of the first chain as you want.

20 May 2012

I did it at last!

I wrote down patterns of all the things I tatted last several weeks!
Well, I must admit that there were some things that didn't let me write this post.
Firstly I decided to buy an account for World of Warcraft. If you know this game, you don't need more explanations. If not... Well, it is very attractive, believe me!
A couple of week later my husband and I bought bikes. Finally. I never had a bike when I was a child, but now I'm so happy! However, it was like starting from the very end - problems with balance, aching legs, etc... And I can bike quite well now! Except that I still have problems with curbs... However I'm working on it!
Nevertheless today I found time and desire to make photos and prepare descriptions of my patterns (earrings and one more braid, you can find them on the Free Patterns page). So, my earrings:
  • Royal Flower (I've already shown them but now I've chosen the name):
  •  Drop (motif #21):
  •  Wheel (motif #22):
This braid - I've called it Pansy Braid (motif #23) - appeared as a result of playing with shuttles:
This bracelet... Oh, this bracelet! I spent a great amount of time trying to tat spirals:
Well, one day I decided to try to tat spiral. I didn't found anything interesting about it and tried to create some universal (you know, I like universal patterns!) way to do it. I used the Archimedes spiral equation as a base. I was not very successful, I must admit. These spirals are tatted from one end (after the flower) to another (before the next flower), they contain downwards picots and something like Catherine Wheel joins, but kind a upside down. The back side looks not very pretty, and the spirals are not very stable themselves. Maybe, somebody knows more about spirals?

2 April 2012

My first tatted jewelry!!!

First of all, happy international tatting day!
Last Saturday I did something completely new for me: I designed and tatted earrings! I don't know how to call them but I will think up something a bit later (motif #20):
I didn't have time to write down the descriptions but I certainly will do it soon. It is also the first tatting with beads I've ever done! Except, of course, TIAS goat, but there are only 2 beads there, so... As you can see this earrings consist of two layers. The following flower consists of three layers. They are tatted independently, one after another, and are connected through petals' picots.
I finished the Umi & Tsuru Tat Along at last! I liked tatting these flowers and leaves, until I tried to connect the last leaf. It was terrible! As you can see, the flowers are obviously bigger than they ought to be with such leaves. It was mentioned in Umi & Tsuru blog that there should be 5 rows instead of 6, but till that moment I had already tatted most of flowers and didn't want to retat... Anyway, I think that with a bit smaller flowers this pattern will be really pretty!
And one more thing - my Lucky Clover grows and looks quite well now! And do you see this beautiful shuttle with lizards? I ordered two of these and now learn to tat with them (which is a bit complicated after Aero shuttles).
I hope to write down my new patterns soon. And I'm glad that you like many of my previous ideas!

25 March 2012

Pansies

I do not like big projects. That's why last week I designed these pansies (motif #19):
The pattern is available on my pattern page. I've also written the pattern for petaled braids. Please tell me if they are not clear enough!
As you can see on photo, I tested several threads. The left top is Daphne 10, I often use it. The right top is YarnArt Canarias. It's very good! I understood that I want to tat with it as much as I can! The bottom is YarnArt Tulip. This thread is also quite good, although very specific.
Anyway, I understood that I can't tat Lucky Clover doily with "Snezhinka" any more and... Yes, I started it again! The result is:
Can't say that it's ideal. No way. However, after some attempts I made this row to lie calmly. I'm not sure that I will not have troubles with the next row, but we'll see. Anyway, with these threads the whole process is much more pleasant!
I also performed some magic with my first attempt, and it looks and lies better now:
Compare with the previous photo:

If I am so crazy to tat one more Lucky Clover doily I can try to finish this one. However I hope not to be so crazy.
And one more thing. Puzzle doily is Tardis from new Doctor Who logo. I must admit that it is not very recognizable. Maybe next version will be better.

21 March 2012

Puzzle Doily

Last several days were quite busy... I didn't have much time for tatting. However, I finished my doily (motif #18):
I don't tell it's name now, because I want to ask you, my dear readers, what do you think about it? Is it recognizable? What is it?
I tatted a part of Lucky Clover Doily also:
It looks quite well now, but I do not like this threads very much. However, I do not want to start it again.
I've understood that I do not like tatting doilies and any other big projects. In programming things are much easier in this sense - you never make a serious program without lots of intermediate versions, each of which is usable. At least, this is my way of programming. When you tat doily you never know what you will get before you finish. Sometimes you spend dozens of hours and finally - you do not like the result. It is sad. As for me, small motifs, like Hibiscus and Clover, are much more pleasant to tat!

10 March 2012

My current projects

Currently I work on 3 tatting projects. I know that this is not normal, but... Two of the are tat along projects, and one is my next design I absolutely wanted to start tatting as soon I as created it. So, I decided to show you my progress every several days to be sure that I don't forget about any of them.
The first one is Tat Along in Umi & Tsuru blog. I want to tat one square, i.e. 4 leaves and 4 flowers. I haven't done very much yet:
The second one is tat along in one Russian-speaking community. We tat 'Lucky Clover' doily. I can't say that I do want to tat big doilies (as I don't have places to lay them down), but I decided to try this one as this can help me to improve my technique. I was right, I have serious problems with rings. They are much tighter than chains, and sometimes it breaks proportions. Look:
The hole in the middle of the first round must be much bigger! Of course I could continue this doily, it won't look very terrible. But I decided to start a new one and to be more careful with tightness of my rings. I took another thread also ("Snowflake"). This is my humble result:
The third one is my small puzzle doily. I hope that when I finish it it will look familiar to many of you. Does anybody have any ideas about what it is?
Next 7 days I'll be quite busy but I hope to have a little time for tatting...

6 March 2012

Petaled Braids

As promised I'm going to show you the results of some my last experiments. I don't know why but most of the patterns I do pretend to be universal. Simple polygons, simple tiling were such ones... The previous doily might be endless (as you could add as many green and floral rounds as you wish).
Now I present my new idea (new for me, but I'm sure that it is already described somewhere) - petaled tatting. It was already shown in Spring Doily. My last results - Petaled Braids (motif #17):
These are only three examples of the whole huge variety of braids, medallions, etc that you can tat with petals. There are two types of petals - simple rings and split rings. They are organized into flowers that are connected with each other in various ways. I hope to write the pattern for at least these braids soon.
One more thing I wanted to try was to tat letter. I chose the first one of my name for experiments. Here are the results:
The right one was the second one and I liked it much more. I hope that I can tat all the letters of my name in the same manner but I haven't decided yet what to do with them, so I stopped here.
I have so many ideas and so little time! I participate in Tat Along in Umi & Tsuru blog, I want to participate in one more Tat Along in some Russian community, I have designed one more doily that many of you will like, I suppose, I want to tat some other tatters' patterns... Tell me, my dear readers, is it normal? Do you have the same problems with time and tatting?..

3 March 2012

Unsuccessful Spring Doily

Last several days I didn't have much time for tatting, but today was full of it! Today I made some experiments that I'll show a bit later, and yesterday I finished my Spring Doily.
Well, I wanted to design and tat something colorful and bright, with flowers and leaves. I started from this round:
It looked quite well, and I continued with green leaves round:
This shape was strange. The figure should be hexagon (with straight sides instead of these curved ones). However I hoped that next floral round will make it fine. It was a wrong decision. This is what I got:
The green round appeared to be too narrow! I checked my calculations and found out that I made a big, very big mistake. So, I cut out green round from doily:
 And tried another variation:
This one looks better but now these green squares do not want to lie calmly on the table and try to jump and run away! I do not know what the problem is and I decided to stop here. I must admit that I'm tired of this naughty doily. Maybe one day I will try again, but not now.
Anyway I congratulate all of you with the Spring!

29 February 2012

Traditional Russian Handicraft

Several days ago it was February, 23. This day is a national holiday in Russia, the Day of the Defender of the Motherland. Unofficially it is known as the Men's day. This day or the day before we congratulate our men and give them presents.
This year my company (JetBrains) organized the day before it (February, 22) in the traditional Russian style. This is the way how the most active women were dressed (I'm left):
We all had a great opportunity to try ourselves in traditional Russian handicraft. Below there are my results (all these things I tried the first time ever in my life):
  • in rod braiding:
  • in birch bark braiding:
  • in pottery:

I am not sure about our men, but I did like that day!

24 February 2012

Wavy braid

Last several days I mostly experiment with tatting rather than tat somebody's patterns. Here it is one of the successful experiments, Wavy Braid (motif #16):
Its pattern is here.
Currently I work on my first doily and several more braids. Hope to show them soon.

21 February 2012

Tat Along

Several days ago I decided to participate in Umi & Tsuru Tat Along. I hoped to finish one fragment in a couple of days and post it but some other ideas came to my mind and I stopped tatting this pattern for a while. Anyway, I have done something.
I started with one flower (motif #14):
I just wanted to tat 4 flowers and 4 leaves and make a square from them. So, I tatted one more pink flower, but it looked very different (and much more accurate, I think)! Well, I liked the second one more and tatted a third flower (red) which somehow appeared to be different from the two previous! Anyway, it was time to tat a leaf (motif #15) and connect it to the ready flowers:
It is quite funny, this pattern. I can easily crochet something that will look just the same as these fragments. Well, anyway, I will finish this pattern a bit later.
My lovely husband likes the ready part:

14 February 2012

Patterns are now available!

I finally found time to write down my patterns and find hosting for them. They live on FileDen.com now. I do not know how to draw diagrams so they are presented as photos and instructions. The list is just under my photo on blog page. Hope you will like them!
Please do not hesitate to ask me if something is not clear, and to tell me if something is wrong!

Dragonfly

This little dragonfly (motif #13) is Riet's pattern for SSSR practicing:
One more tatting technique I now know! Very pretty and very simple pattern, that needs one shuttle. SSSR appeared to be less difficult than I thought. Well, I have practiced split chains while tatting clover, and this is just the same. I know exactly what pattern with SSSRs I want to tat next!

12 February 2012

Clover story...

Sometimes you just select some pattern, tat/knit/crochet it, get pleasure and result, and that's it. But sometimes needlework becomes a truly research... This is one of such cases.
Everything started several days ago when I was looking for some easy pattern with big rings and picots (yeah, again!) to test new threads. In fact big rings are rarely used in patterns, and I found nothing interesting. So, I tatted something square looking (motif #10):
The pattern is pretty easy:
Central ring is: R 6 - 6 - 6 - 6
All small rings are: R 3 - 2 - 2 - 2 - 2 - 3 Cl
All chains are: Ch 3 - 2 - 2 - 2 - 2 - 3
At this moment my story could be finished if my husband didn't say that this motif looks like four-leaf clover, the symbol of Luck. Shame on me, I knew nothing about it. He showed me a picture and asked whether I can tat it for him. It was a challenge!
These are my several attempts to tat it, using different threads:
The left top clover (motif #11) is the first one.
Every ring in it is: R 4 - 10 (8 first parts of knot) (8 second parts of knot) 10 - 4
My Alex didn't like it much as it is very "empty". All the other thing on photo above are my attempts to make the "full" one. Finally I tatted this one (motif #12):
It is the best one - we both liked it! It's pattern is a bit similar to the Hibiscus pattern. I will write it a bit later.
So, thank you, Alex, you give me inspiration!

TIAS is over...

I was very, very busy all this week... That's why I could tat days 11 and 12 of TIAS only yesterday evening. Well, I finished my first goat - Winter (motif #9):
But it was so sad that TIAS is over... And so lonely... I couldn't resist and tatted a friend for it - Spring:
My husband liked them both but the second one much more! Maybe because it's quite cold in St.Petersburg last month... Well, Winter and Spring are now happy to be together and discuss weather and everything else that the goats usually discuss!
Thank you, Jane, for TIAS and this wonderful pattern!

6 February 2012

Simple Tiling

I did it at last! The first version of tiling from Simple Polygons that is fine (motif #8):
Well, these Simple Polygons are not the same as in my previous post. Here you can see red triangles, green squares and blue hexagons. If you want to tat polygon with N sides, you should tat N connected rings:
R X (picot or join to previous R) 3 - 3 - 3 - 3 (picot or join to next R) X
The question is, what does X equal to? In common case X is about 6 * ctg (pi / N).
So:
  • for N = 3 X is about 4; 
  • for N = 4 X is equal to 6; 
  • for N = 6 X is about 10.
Well, I'm not absolutely sure about these numbers, I must say. I should try to tat such an example with some other thread, not Iris. Iris becomes not fine when you work with big rings. Rose is much better is this sense.
Anyway, the whole idea works! My first polygons were simple and pretty, but not functional, these are simple and functional, but not very pretty. I still believe that I can create some simple, pretty and functional pattern at the same time. Well, we'll see.

TIAS day 10

This pretty goat needs only legs now:
I today I was first again! I'm happy!

4 February 2012

TIAS days 7 to 9

I've realized that I completely forgot to show my TIAS progress for last 3 days! Here they are: day 7 with somebody's tail:
Day 8 with somebody's horn (the photo is dark because it was made at work on mobile phone camera):
Day 8 was the first (and maybe last) day of TIAS when I tatted motif the first among all the participants! I'm proud of this!
And day 9, looks more like a goat:
It was a challenge for me, because I bought beads after TIAS started, so I had to cut thread, add beads and tie it again. And I never tatted with beads before! Looks like the eye and the nose would better be less. But I like this goat anyway!